Hey, crafter fams! Are you looking for a simple guide to learning how to use Cricut EasyPress Mini ? Here is the complete guide I have explained about the steps to use this press machine. In addition, I am creating an exciting iron-on project for my child’s shoes. This project was always in my mind, and I wanted to work on it for a long time. Today, I am getting a chance to work on it.
At the same time, I can show you how you can learn to use this mini gadget, which looks small in shape but does what you can’t imagine. This small machine can be used for a wide range of projects that I have already mentioned in this blog. Despite this, there are specific settings for the timer and temperature that you need to make before making any DIY projects. All of them, I have discussed in this blog.
Step 1: Collect All the Supplies & Tools
Before proceeding with how to use Cricut EasyPress Mini, you will need the following items to ensure a smooth application of the iron-on design on shoes. Having these items is essential if you want to create a design and transfer it onto your blank hoes. Here’s what I used in my project:
- Cricut EasyPress Mini Heat Press
- Explore Air 2 machine
- Design Space
- Dinosaur Canvas Shoes Cut File
- Cricut Mat
- Iron-on Vinyl
- Heat Guide
- Canvas Shoes Blank
- Design Cut From Infusible Ink Transfer Sheet
- Lint Roller
- Tweezers
- Socks for Stuffing
Step 2: Create a Design and Cut It
Now, let’s create a design on Cricut Design Space and then cut it on the cutting machine. I am using my Explore Air 2. This is because the design required for shoes will be smaller in size. Follow the below steps to design and cut it on Cricut:
- First of all, you will need to create your design on Design Space.

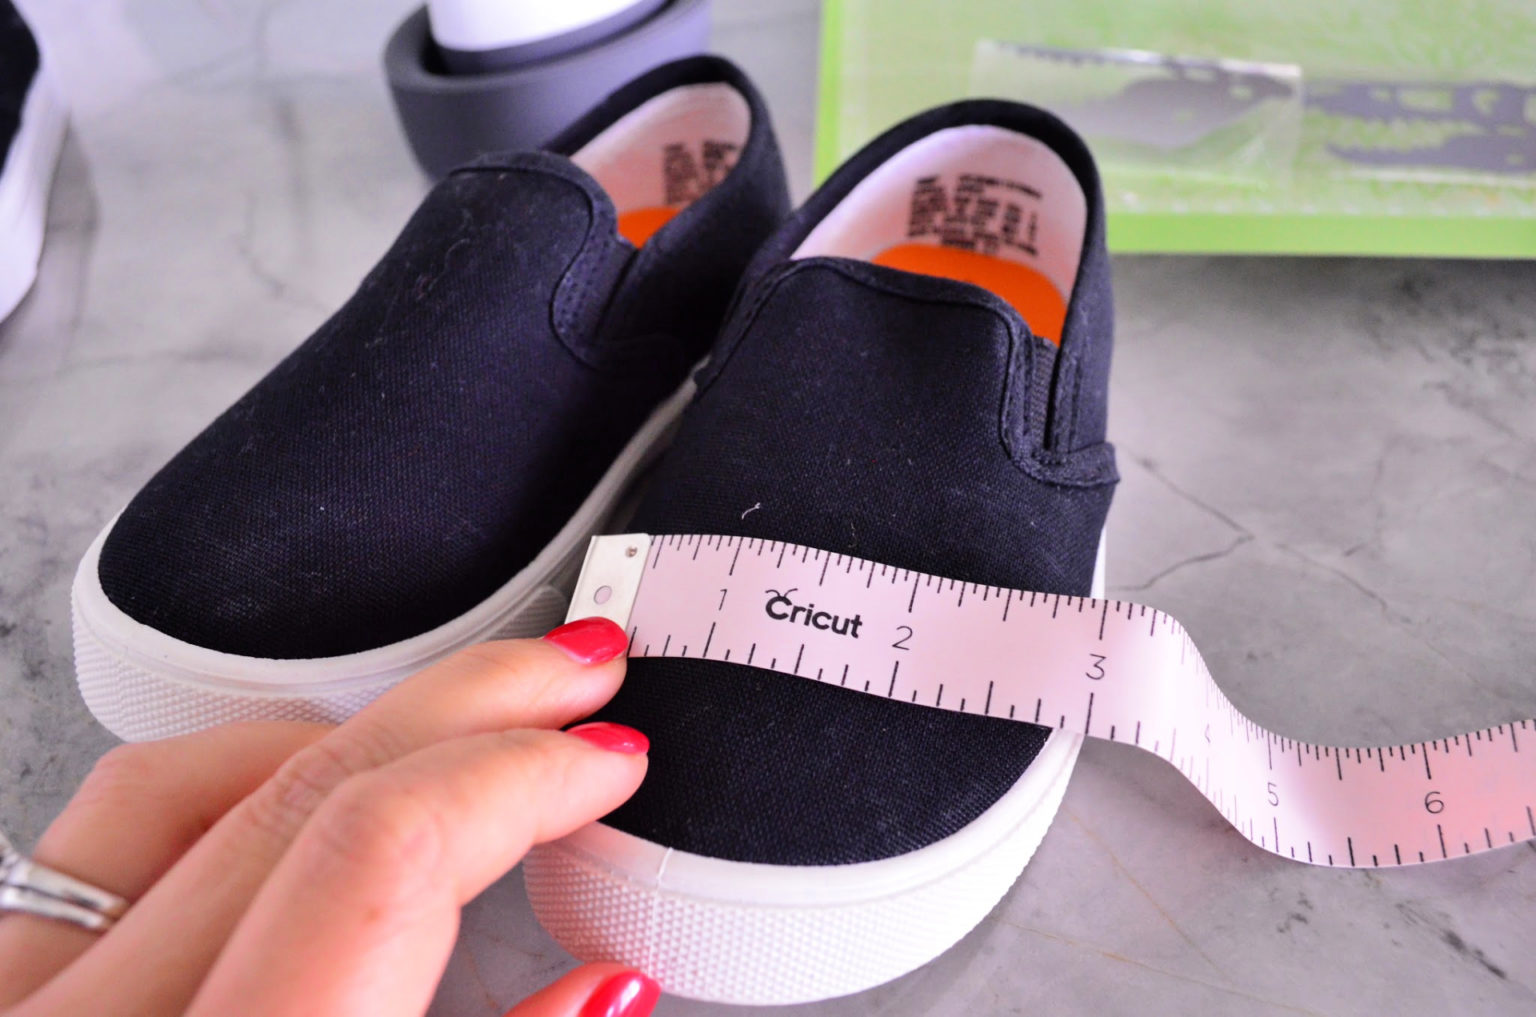
- While designing, make sure your design is within the recommended size, i.e., 2.75” W x 2.75” L or 1.625” W x 5” L. Here, I am measuring my shoes to resize my design accordingly.
- Then, after resizing your design, you need to place your mat.
- Next, you have to load the mat into the machine.

- After that, press the Go button to begin cutting your design.
- Once your design is cut, you have to weed it out.

After that, you need to move to the next step, where I have finally explained how to set the timer and temperature on EasyPress Mini.
Step 3: Set the Timer and Temperature
The timer and temperature settings of Cricut EasyPress Mini for infusible ink and for iron-on are given as follows.
- First of all, you need to power on the EasyPress Mini.
- Then, you have to use the Cricut Heat Guide to set project settings.
- When you turn onthe machine, it will first set the low temperature.
- Again, when you press the same button, it sets the medium temperature.
- Now, pressing the same button one more time will set the high temperature.
- Besides, you will notice different light colors, and each light has a different meaning.
- For instance, orange indicates that the machine is heating up, and Green lights mean it has reached the temperature.
- Next, you need to set the recommended time.
- Now, it is ready to be used.
After following the above directions carefully, head to learn how to use Cricut EasyPress Mini in the next step.
Step 4: Apply Your Iron-On Design
Finally, you will have to transfer your design to blank shoes. Here’s how to do this:
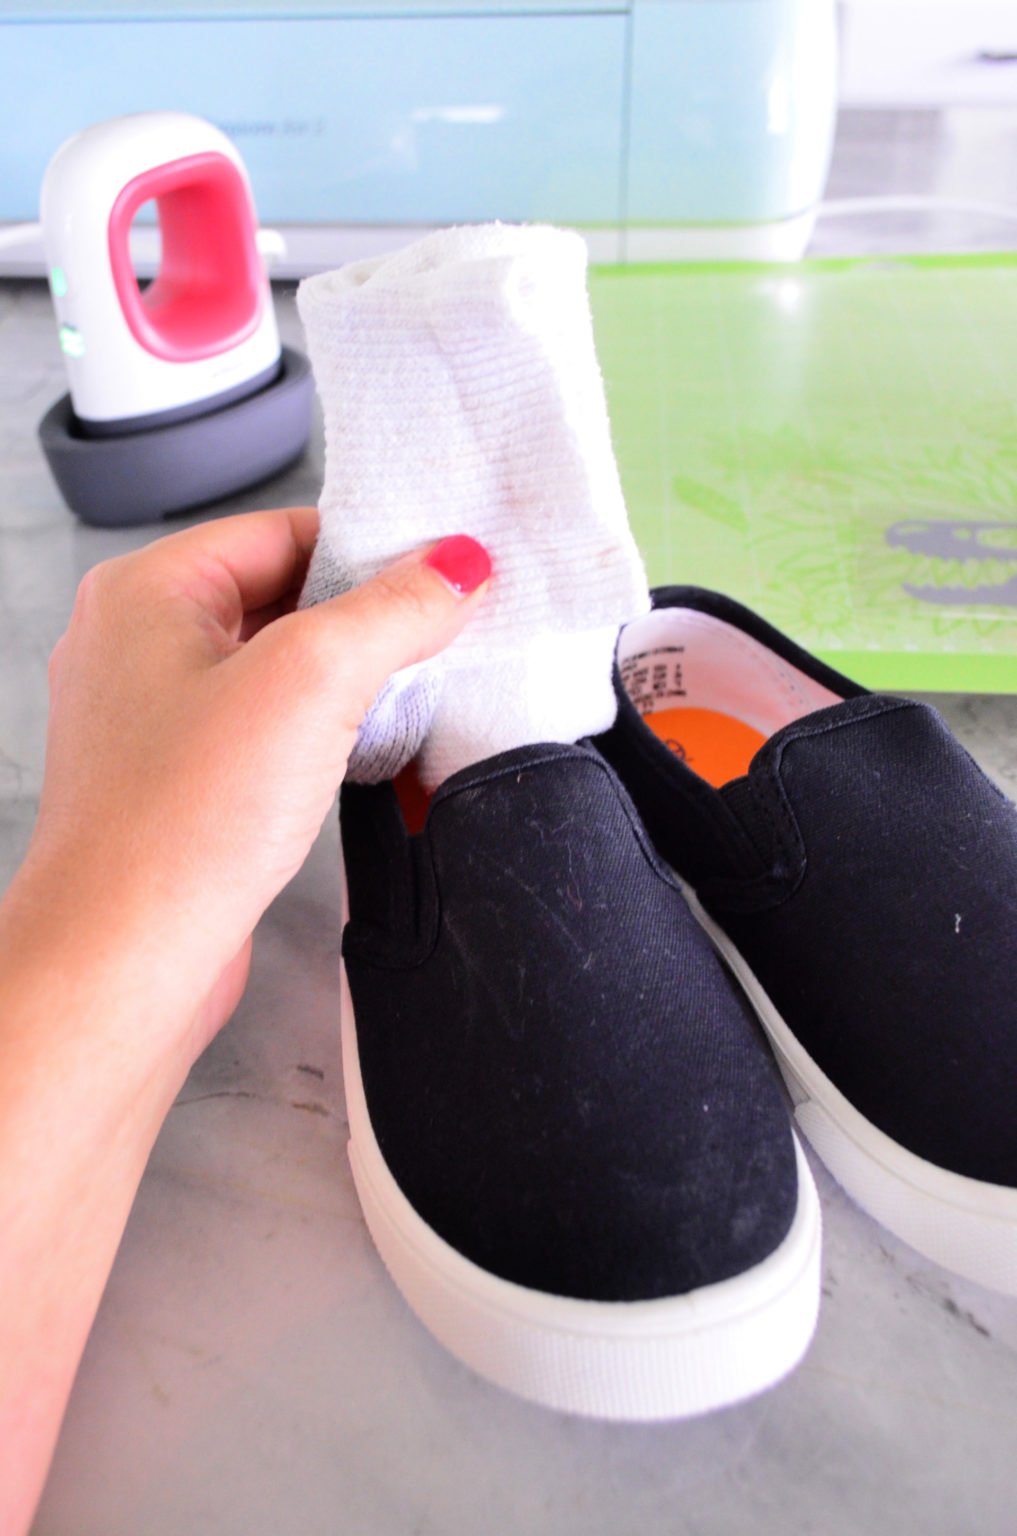
- Firstly, you need to use your socks to stuff inside the shoes.
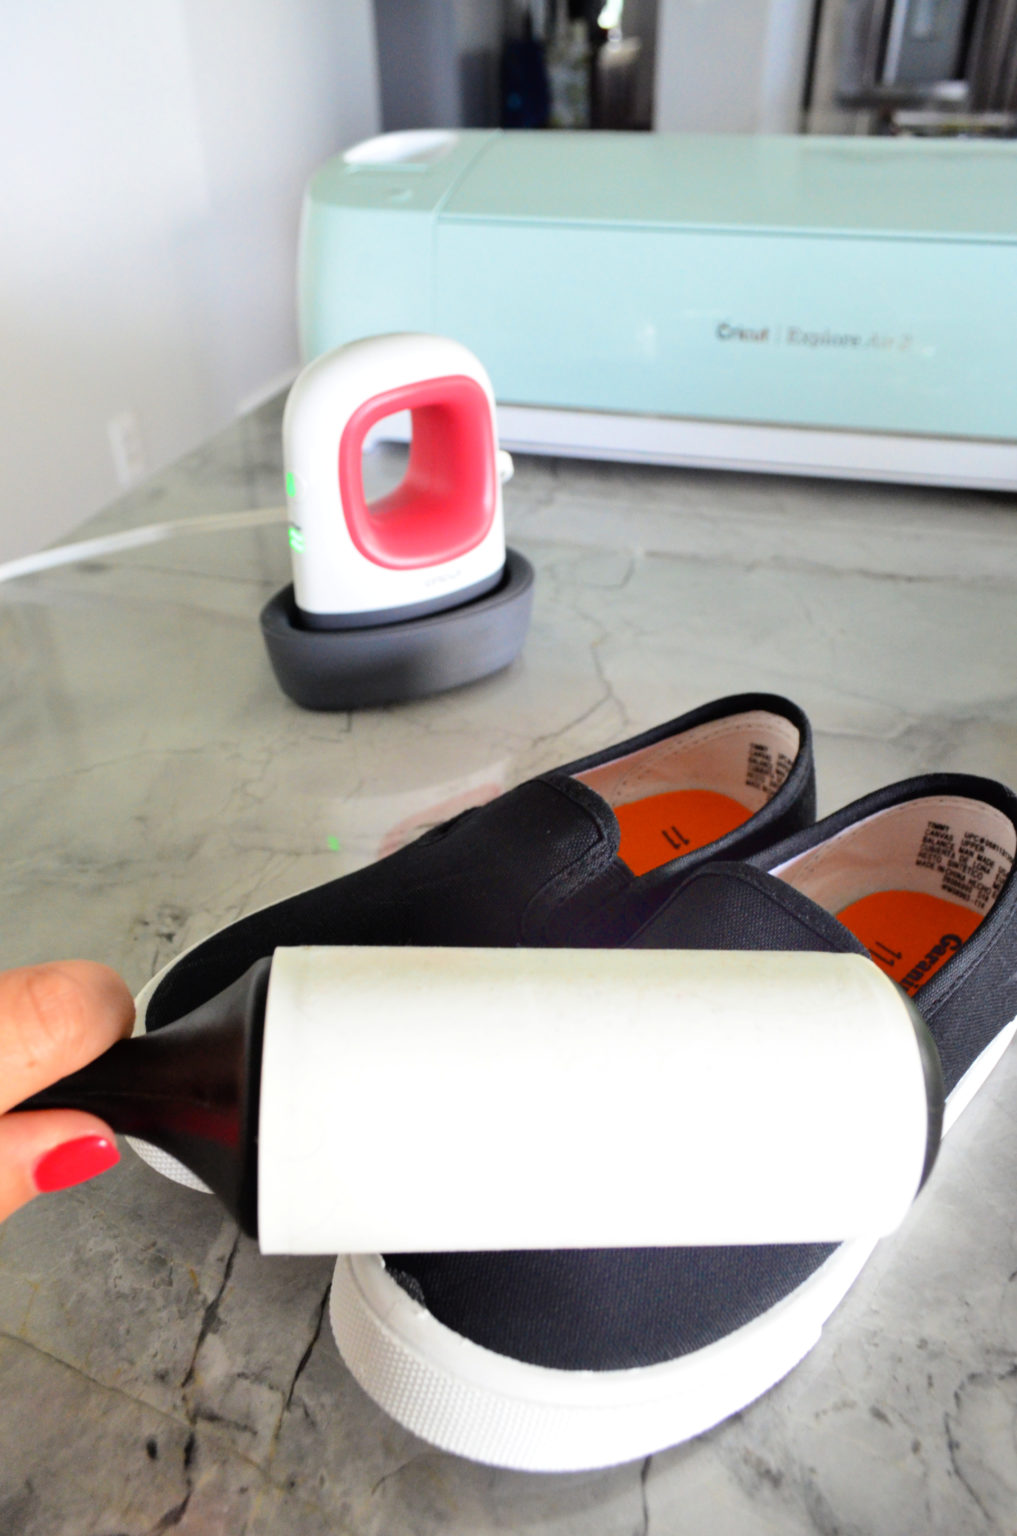
- After this, you have to use a lint roller to remove the lint.
- Next, place your cut iron-on vinyl design on your shoes.
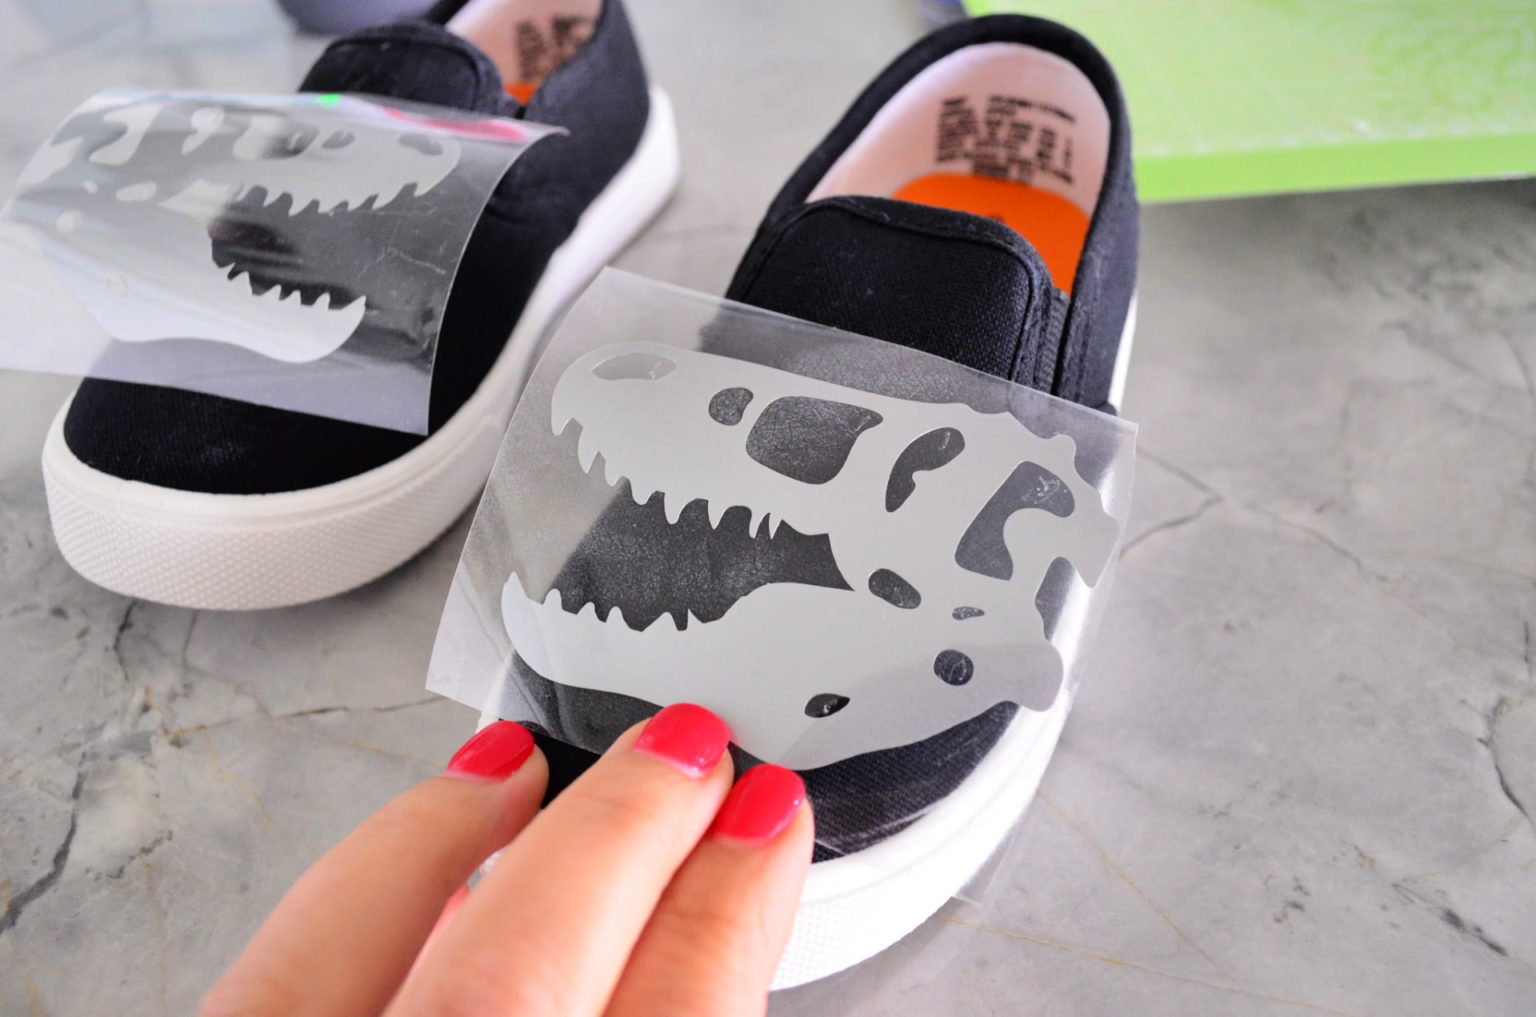
- Finally, place the EasyPress Mini onto the transfer tape.
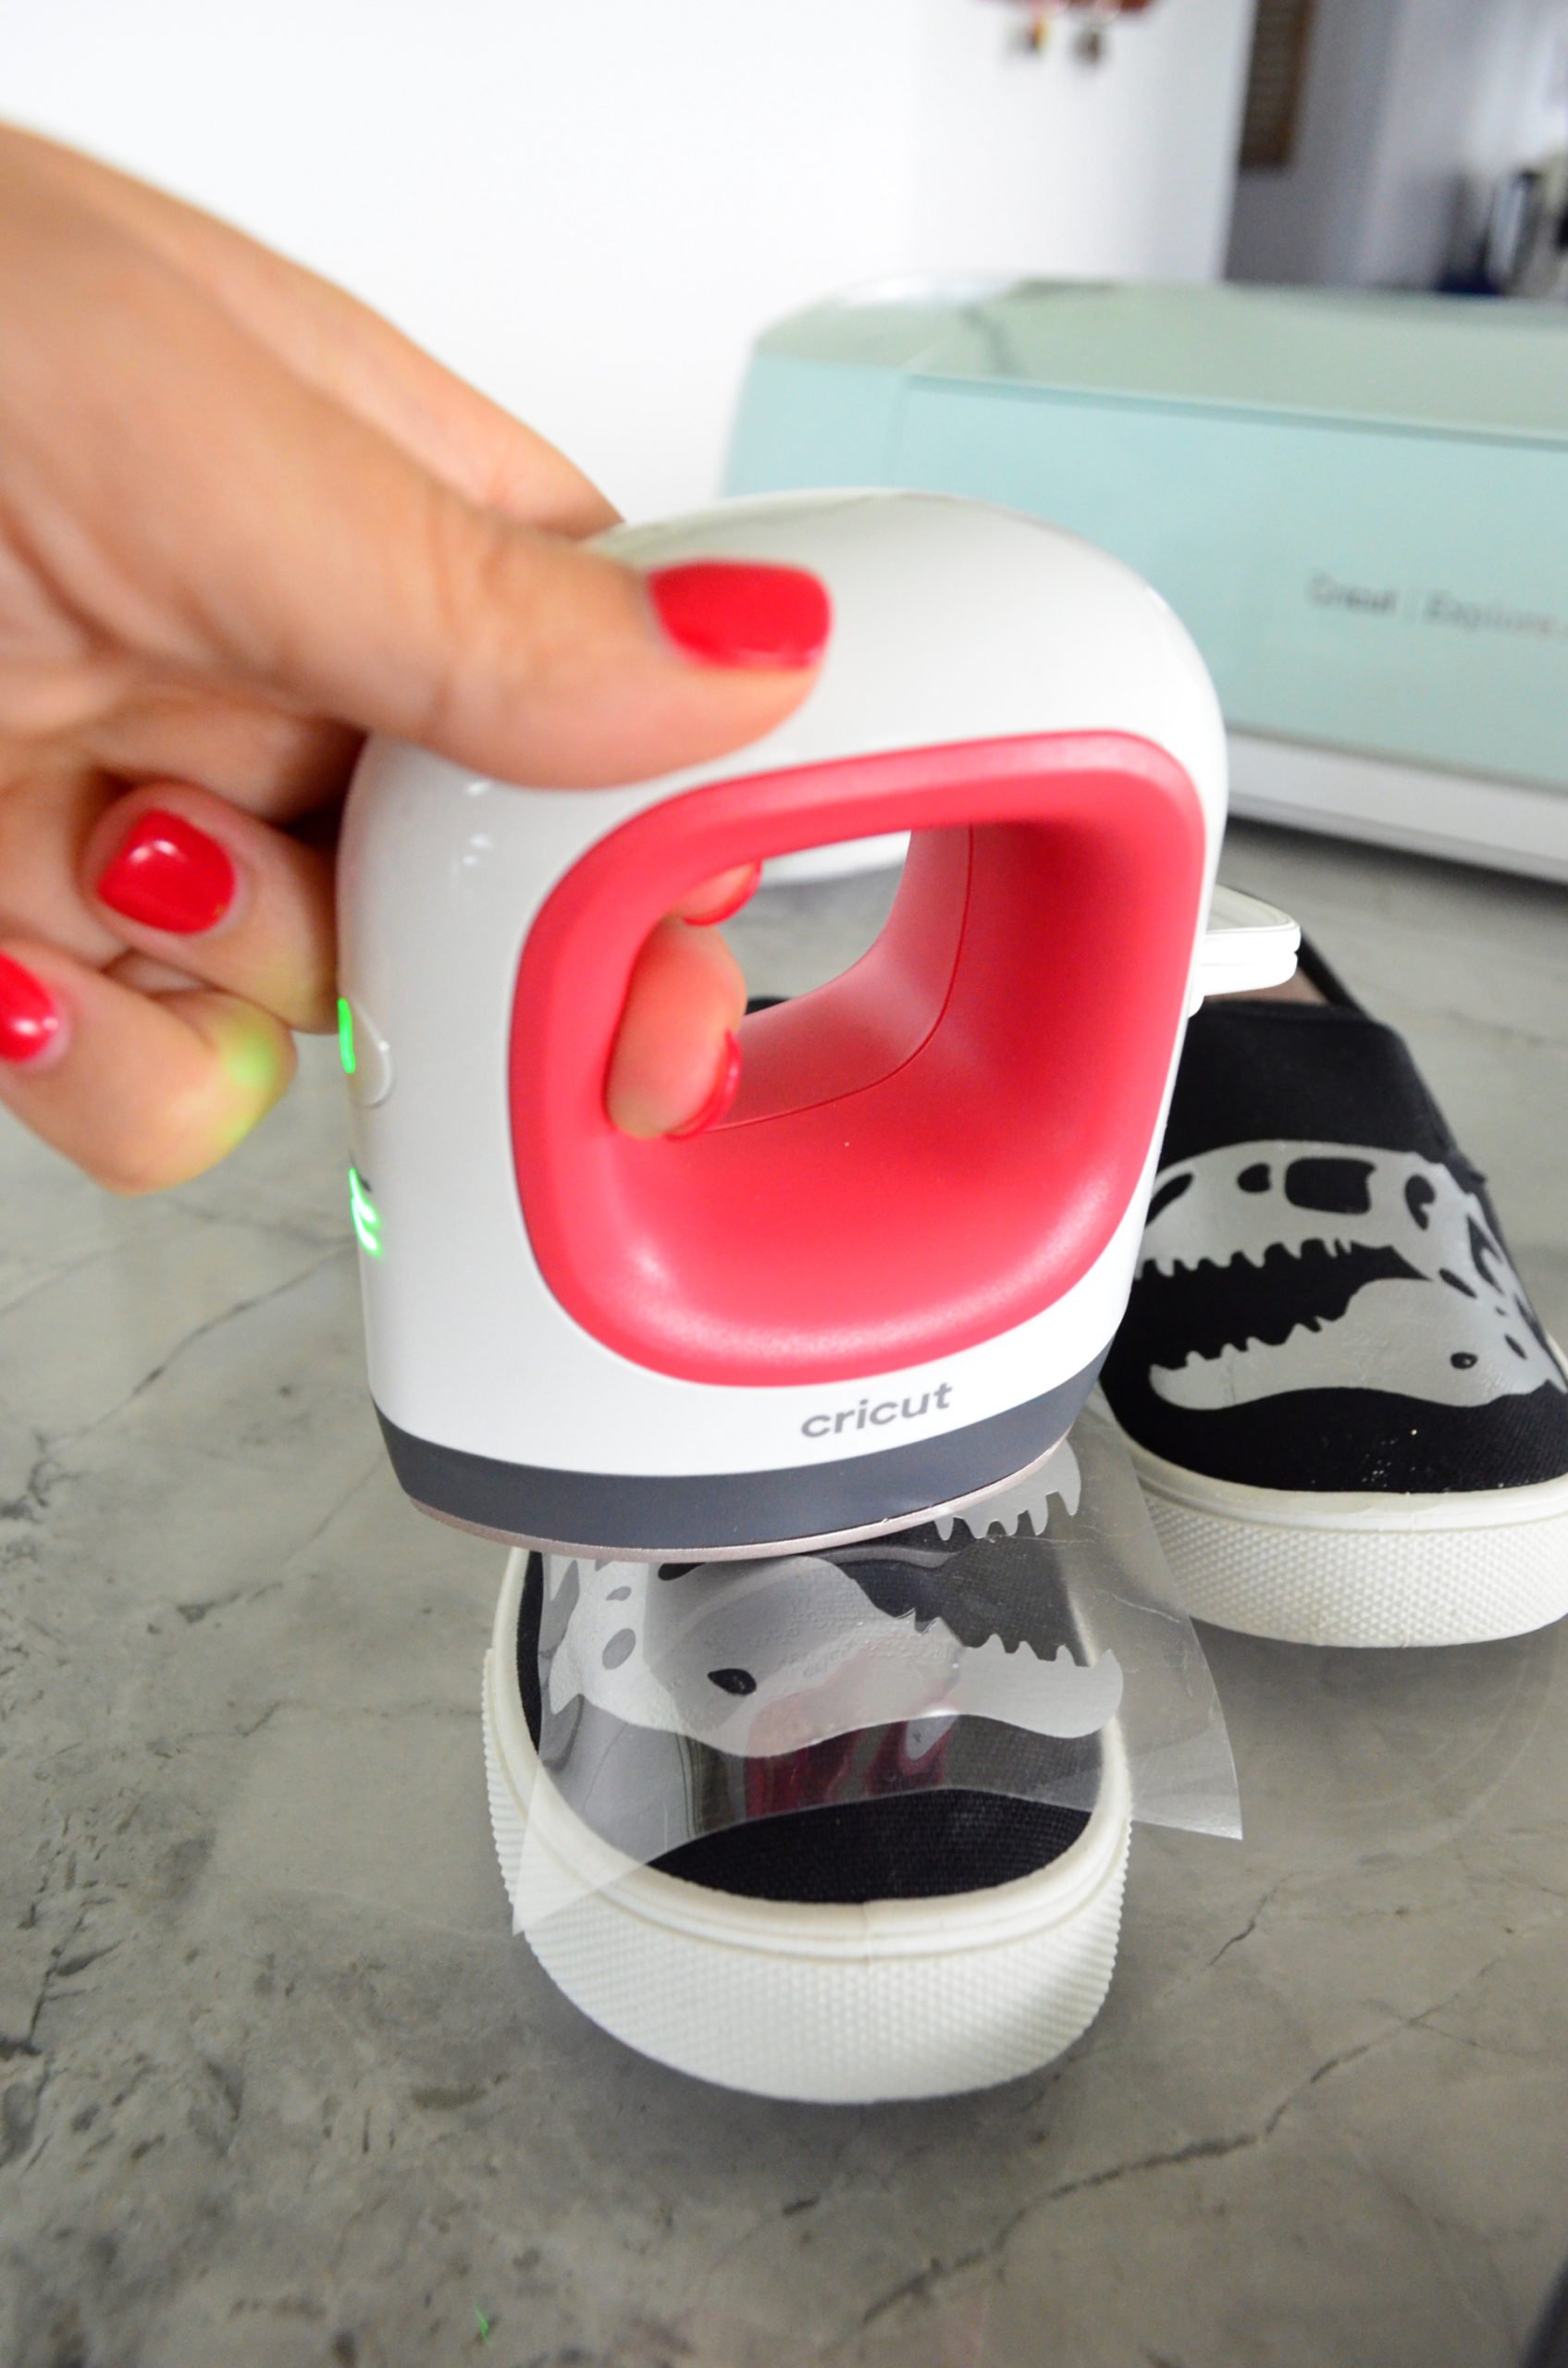
- Finally, peel off the plastic layer once your iron-on adheres to the surface.
So, now you have learned how to use Cricut EasyPress Mini. With this easy-to-follow guide, you will be able to make your own project with Cricut EasyPress Mini.
FAQs
Question 1: Can I use Cricut EasyPress Mini for larger projects?
Answer: The Cricut EasyPress Mini has been designed especially for small heat transfer projects. That’s why it has a mini in its name. This tool fits well with intricate and smaller designs. But if you have a large size of project, then you will need to use the Cricut EasyPress 2. It comes in three different sizes and is suitable for different types of projects. Hence, for better results, select the right size for your EasyPress. In addition, an inappropriate size can ruin your project.
Question 2: Can I use my Cricut EasyPress Mini for shirts?
Answer: Yes, you can use it, but the size of the design should not exceed the size of your Heat Press. Despite shirts, it is also compatible with transferring photos and texts on clothes, hats, bags, mouse mats, shoes, stuffed animals etc. In a nutshell, you can use it for many projects, but you will need to ensure the right size.
Question 3: What is the use of Cricut Mini Press?
Answer: There are endless possibilities with EasyPress Mini. Try them out with this tool, and it will give you a professional result that everyone will notice. Below, I am providing you with a list of projects that you can easily make with this Mini Press:
- Everything baby
- Earrings
- Bows
- Shoes
- Hats
- Small pockets
- Doll clothes
- Pressing seams for sewing projects
- Headbands
- Stuffed animals
- Small bags
- Paper cards and more
Wrap Up
This blog is all about how to use Cricut EasyPress Mini. Through this comprehensive guide, you will learn everything from creating a design on Design Space and cutting it on the Explore Air 2. However, you can also use another machine for cutting, and Explore Air 2 is not mandatory. After you cut the design on iron-on vinyl, you will need to set the timer and temperature using the Cricut Heat Guide. After that, use your EasyPress Mini to transfer the design onto the shoes.

Leave a comment